 Reviews


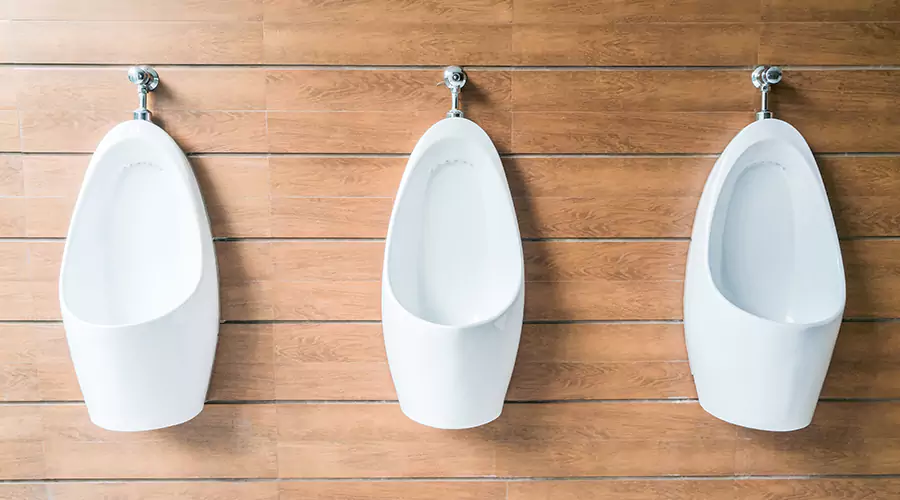
Connecting a urinal pipe means joining two systems: The flush supply at the top and the waste line at the bottom. Professional installation runs $300 to $1,200 depending on scope and materials while the connections themselves use gaskets rather than glue at the fixture.
Every urinal follows the same anatomy regardless of brand. Water enters through a spud and leaves through a flanged outlet.
The steps below cover wall-hung units first since they dominate the market. Trough and waterless designs get their own sections after.
The Three Pipe Systems on Every Urinal
Three pipe runs meet at every flushing urinal. The supply feeds the flush valve. The waste carries everything away. The vent lets the drain breathe like any other fixture.
Direction names the parts. The urinal inlet pipe drops from the flush valve down to the top spud on the fixture, and most urinals are top inlet designs. Below the bowl the urinal outlet pipe exits through a flanged fitting in the wall or floor behind the fixture, making pipe repair easier to diagnose.
Pressure is the hidden requirement. Urinals usually require higher water pressure than a normal house provides, which is why flush-valve urinals live mostly in commercial buildings with 1-inch supply mains.
Insider Tip: Photograph the rough-in measurements off the fixture's spec sheet before any pipe gets cut. The spud height and outlet height differ across models by inches.
Fittings and Tools
Urinal pipe fittings differ from household plumbing in one way: The fixture-side joints seal on compression gaskets. Each urinal pipe fitting at the porcelain tightens onto a rubber or friction washer that cushions the connection. Glue and tape live only on the in-wall piping.
The shopping list stays short:
- Inlet spud: A 1.5-inch brass spud runs about $18 and threads into the fixture's inlet.
- Spud coupling and escutcheon: To join the flush pipe to the spud.
- Flanged outlet connection: With its gasket for the waste side.
- Fixture hangers and lag screws: Rated for the urinal's weight.
- Smooth-jawed spud wrench: Since regular pliers chew the chrome.
Finish matters by location. Chrome-plated brass urinal plumbing fittings suit exposed commercial runs while concealed piping behind the wall uses ordinary materials.
Connect the Flush Pipe
The urinal flush pipe is the short vertical tube between the flush valve and the fixture's top spud. The connection uses two slip nuts and two gaskets and no sealant. Ten minutes covers the whole joint.
- Thread the spud into the fixture hand-tight plus a quarter turn with the spud wrench.
- Set the flush valve height so the pipe reaches the spud without side stress.
- Slide the slip nuts and gaskets onto the flush pipe before positioning it.
- Seat the pipe into the valve outlet above and the spud below.
- Tighten both slip nuts evenly until snug. Porcelain cracks before brass strips so stop at firm.
Use flush valves with vacuum breakers since the backflow protection is code nearly everywhere.
Flow tuning comes after water-on. One DIY installer learned this publicly when his first test flush shot water over the end of the urinal, and the fix was closing the valve's adjustment screw fully and then opening it a quarter turn.
Insider Tip: Start every flush valve at that barely-open setting. Tuning up from a trickle beats mopping down from a geyser.
Hang the Fixture and Join the Waste Pipe
The urinal waste pipe connection happens as the fixture hangs, which makes everything. The flanged fitting mounts to the pipe first and the urinal presses onto it second. Two people make this step safe.
- Rough in the drain: The urinal drain pipe typically runs 1.5 to 2 inches depending on local code, so confirm your jurisdiction's size before cementing anything.
- Slope the horizontal run: Pitch the waste pipe for urinal installs at a quarter inch per foot toward the stack.
- Install the flanged outlet connection: Onto the waste pipe with its gasket facing the fixture.
- Mount the hangers: Level and secure them with screws into blocking rather than bare drywall.
- Place the urinal: On the hangers and align the fixture outlet with the outlet fitting in the wall. Height adjusts at the hangers.
- Draw the outlet joint snug: And check the supply and waste connections for leaks with a test flush.
Material and trap rules finish the job. PVC urinal waste pipe suits the concealed in-wall run in most jurisdictions while the exposed stub takes chrome. Meanwhile urinal drain plumbing includes its own trap on every fixture, whether built into the china or added in the wall.
Insider Tip: Stuff a rag in the open drain during the whole install. Dropped screws travel straight to the trap otherwise.
Sparge Pipes on Trough Urinals
Trough urinals replace the single spud with a rinse bar. A urinal sparge pipe is the perforated horizontal tube that sprays a water curtain down the trough's back wall on each flush cycle. Schools and stadiums still run thousands of them.
Connection differs from bowl urinals in scale rather than kind. The supply drops from a cistern or valve to one end of the sparge tube. Urinal sparge pipe fittings include the end caps and wall brackets and the compression tee that feeds the middle on long runs.
Alignment is the whole craft here. Rotate the tube so the spray holes aim at the back wall rather than the room, then lock the brackets. A sparge bar rotated ten degrees wrong soaks shoes for years.
Waterless Urinals Skip Half This Guide
Waterless models delete the entire supply side of this article. They have no pipelines or valves on the flush side, and installation runs just $170 to $400. Only the waste connection remains.
The trap does the work instead. A liquid-sealant cartridge in the outlet blocks odor without water, so the fixture connects to the same waste pipe as any flushing model. Retrofits from flush to waterless cap the old supply inside the wall.
Maintenance replaces plumbing complexity. Cartridges swap on a schedule measured in months, which is the trade for deleting the flush valve forever.
What Installation Costs in 2026?
Urinal pipe work prices by how much the wall opens. A swap onto existing rough-in costs a service call while a new location costs a small remodel. The table shows the 2026 landscape.
| Scenario | 2026 cost |
|---|---|
| Basic replacement on existing pipes | $200 to $600 |
| Standard single-unit install | $520 to $900 with 2 to 3 hours of labor |
| Typical full project | $1,000 to $2,200 |
| Residential new install | $1,500 to $2,400 |
| Waterless install | $170 to $400 |
Labor sets the meter. Plumber rates run $60 to $120 per hour in most markets and a single unit takes 2 to 6 hours depending on wall access.
Mistakes That Flood Restrooms
Five mistakes cause most failed urinal connections. Every one shows up within the first week of use. Read them before the first fitting tightens.
- Flexible connectors on the waste side: A urinal hose pipe or accordion connector fails code and clogs fast, so rigid pipe only below the bowl.
- Overtightened slip nuts: Cracked spuds leak inside the wall where you can't see them.
- Missing vacuum breaker: Backflow protection is the first thing inspectors check.
- Wrong spud size: Match the flush valve's outlet to the fixture's spud before purchase.
- Hangers in drywall alone: A wall-hung fixture full of water needs blocking or it needs a floor to land on.
When to Call a Professional
Three parts of this project belong with licensed plumbers in most jurisdictions. Each touches systems beyond the fixture. The fixture-side gasket joints stay approachable for skilled DIYers on existing rough-ins.
- Any new supply or waste runs: New waste and water lines mean opening walls and often permits under local plumbing codes.
- Vent connections: Drain math without proper venting produces siphoned traps and permanent odor.
- Commercial settings entirely: Code compliance and backflow certification carry liability that belongs with a license.
Pressure questions deserve the pro visit too since a plumber can assess whether your system supports a flush-valve urinal or needs upgrades.
Conclusion
A urinal pipe connection is two gasketed joints wrapped around careful alignment. The spud coupling handles the water and the flanged outlet handles the waste while the hangers carry everything in between. New pipe runs and vents belong to licensed pros. This week pull the spec sheet for your fixture and mark the spud and outlet heights on the wall. Accurate marks make every joint after them easy.
FAQs
What size is a standard urinal spud?
Three-quarter inch for the flush inlet on many models with 1.5-inch versions for others. Match the flush valve before buying.
Does every urinal need its own vent?
It needs venting per code though several fixtures can share a properly sized vent. The layout math belongs to the plumber.
Can I connect a urinal to an existing sink drain?
Only through a code-legal branch with correct sizing and venting. Direct taps into undersized lines fail inspection.
Why does my new urinal smell despite flushing?
The trap seal is failing or the vent is blocked. Check the outlet gasket seating first since a misaligned flange leaks vapor.
How high should a urinal hang?
Standard rims sit around 24 inches off the floor with ADA units at 17. The hanger height follows the spec sheet.
Do urinals work on a home's half-inch supply?
Tank-style and waterless models do. Commercial flush valves need the pressure and volume most homes lack.